


Suspend: Important Note: Once a product is suspended, it can be reactivated as needed. Similar to removing availability, you can […]
Suspend:
Important Note: Once a product is suspended, it can be reactivated as needed.
Similar to removing availability, you can now suspend a product and prevent further bookings until the product is available again. For example, if an activity is unavailable due to unforeseen circumstances (Covid-19, natural disaster, etc.) and you are unsure how long it will be out of service, this feature can turn off sales for the product with just 4 clicks.
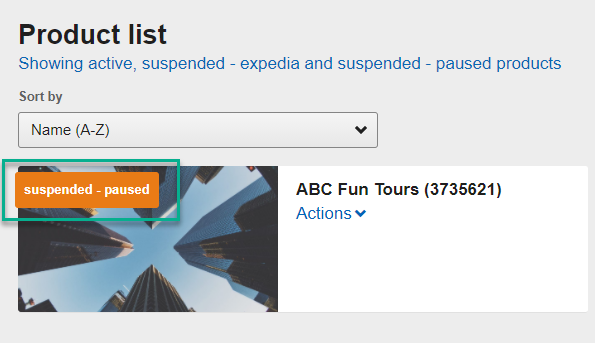
To suspend a product, click on the ‘Actions’ link from the Product List page and select ‘Suspend – Pause’ in the drop-down menu of the product you wish to suspend. Select the reason that best fits the suspension from the drop-down options. To complete the suspension of your product, simply click ‘Suspend’ and your product will now be listed as ‘suspended – paused.’


Please note: You may have pending orders impacted by this change. Please submit a request for refund for these guests by completing the Contact Us form.
Once you are prepared to activate the product again, click on the ‘Actions’ link from the Product List page and select ‘Activate’ in the drop-down menu. To complete the reactivation of your product, simply click ‘Activate’ and your product will now be reactivated. You will only be able to reactivate products that were previously ‘suspended – paused.’


Deactivate:
Important Note: Once deactivated, products cannot be reactivated. Bear in mind the time and resources put into adding new products into the system, so only deactivate a product if it is no longer available to be booked for an indefinite period. Seasonal products should not be deactivated using the functionality in the Expedia Group Activities Partner Central.
To deactivate a product, click on the ‘Actions’ link from the Product List page and select ‘Deactivate’ in the drop-down menu of the product you wish to deactivate. Select the appropriate reason for deactivation in the drop-down. To finish, simply click ‘Yes, deactivate.’


Did this answer your question?